


Floor installation might seem complex, but it comes down tc understanding the basics. When you know what good work looks like, you can make smarter choices and feel confident about your flooring project.
This guide shares everything you need to know about how floors get installed properly. Whether you're getting ready to start a project or simply curious about the process, well show you the key steps that make floors look great and last for years.


Preparing Your Subfloor
The foundation must be perfect before any new flooring goes down. This means checking that your subfloor is clean, level, and dry. Any squeaks, dips, or moisture problems get fixed first. It's like preparing a canvas before painting, the better the prep work, the better your final result.

Getting Your Materials Ready
Different flooring materials need different preparation. Some need time to adjust to your home's temperature and humidity. Others can be installed right away. The key is to follow what the manufacturer recommends. Skipping this step often leads to problems later.
Having the Right Tools
Quality installation needs quality tools. Our professional installers use specialized equipment for measuring, cutting, and fitting. The right tools make clean cuts and precise fits possible.
Setting Up Your Space
Everything needs to be cleared and cleaned before installation begins. This includes protecting areas not being worked on and ensuring good ventilation and lighting.
Planning The Layout
Smart installers always plan before they start. They figure out where to begin, how to handle tricky areas, and where to make cuts. Good planning means your most visible areas get the best-looking pieces.
Starting Strong
The first row of flooring sets the tone for everything else. Getting this row perfectly straight and properly positioned is crucial. Everything else builds from this foundation.
Cutting and Fitting
Professional installations show perfect fits around obstacles and clean, straight cuts. This takes skill the right tools, and patience. Each piece should fit snugly without forcing.
Securing Everything
Whether your floor uses glue, nails, or click-together systems, proper attachment is essential. The right method depends on your specific flooring type and subfloor conditions.
Handling Transitions
You need clean transitions where your new floor meets other surfaces. This includes doorways, stairs, and different room areas. Professional trim work makes everything look intentional and polished.
Cleanupand Care
After installation, thorough cleanup removes all dust and debris. You'll also get specific care instructions for your new floor to keep it looking great.

Solving Any Issues
Even with great planning, small adjustments sometimes need to happen. Experienced installers know how to handle common challenges without compromising the final result.

Now that you have seen what quality flooring installation involves, you can decide which route aligns with your goals. Trust our expert installers for guaranteed results, or use this knowledge to confidently complete your own beautiful transformation.
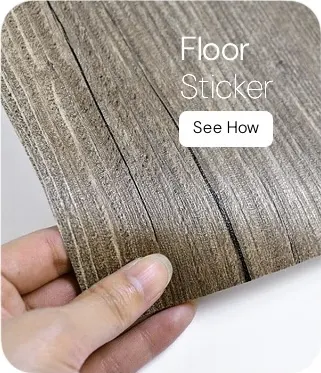
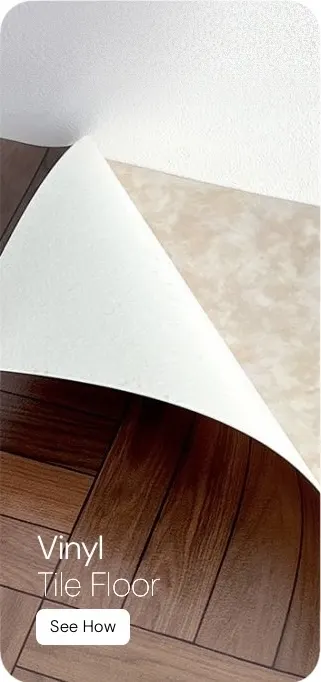
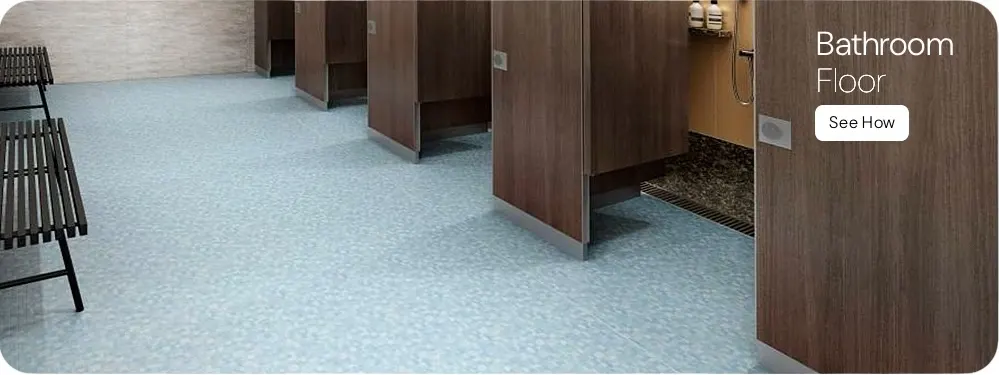
Different Floor Type
Different Installation Guide
Every type of flooring has its own unique characteristics and demands a specific approach to installation. To help you achieve a flawless and long-lasting tinish, we've developed comprehensive guides tailored to the distinct requirements of each material, ensuring you have the precise instructions you need for your project.


Prefer to work with our
professional installation team?
Our experienced installers bring years of expertise to every project. We handle everything trom planning to cleanup so you can enjoy your beautitul new floors without the stress. When you choose Honpo's installation services,


Floor installation might seem complex, but it comes down tc understanding the basics. When you know what good work looks like, you can make smarter choices and feel confident about your flooring project.
This guide shares everything you need to know about how floors get installed properly. Whether you're getting ready to start a project or simply curious about the process, well show you the key steps that make floors look great and last for years.
Preparing Your Subfloor
The foundation must be perfect before any new flooring goes down. This means checking that your subfloor is clean, level, and dry. Any squeaks, dips, or moisture problems get fixed first. It's like preparing a canvas before painting, the better the prep work, the better your final result.
Getting Your Materials Ready
Different flooring materials need different preparation. Some need time to adjust to your home's temperature and humidity. Others can be installed right away. The key is to follow what the manufacturer recommends. Skipping this step often leads to problems later.
Having the Right Tools
Quality installation needs quality tools. Our professional installers use specialized equipment for measuring, cutting, and fitting. The right tools make clean cuts and precise fits possible.
Setting Up Your Space
Everything needs to be cleared and cleaned before installation begins. This includes protecting areas not being worked on and ensuring good ventilation and lighting.
Planning The Layout
Smart installers always plan before they start. They figure out where to begin, how to handle tricky areas, and where to make cuts. Good planning means your most visible areas get the best-looking pieces.
Starting Strong
The first row of flooring sets the tone for everything else. Getting this row perfectly straight and properly positioned is crucial. Everything else builds from this foundation.
Cutting and Fitting
Professional installations show perfect fits around obstacles and clean, straight cuts. This takes skill the right tools, and patience. Each piece should fit snugly without forcing.
Securing Everything
Whether your floor uses glue, nails, or click-together systems, proper attachment is essential. The right method depends on your specific flooring type and subfloor conditions.
Handling Transitions
You need clean transitions where your new floor meets other surfaces. This includes doorways, stairs, and different room areas. Professional trim work makes everything look intentional and polished.
Cleanupand Care
After installation, thorough cleanup removes all dust and debris. You'll also get specific care instructions for your new floor to keep it looking great.
Solving Any Issues
Even with great planning, small adjustments sometimes need to happen. Experienced installers know how to handle common challenges without compromising the final result.
Now that you have seen what quality flooring installation involves, you can decide which route aligns with your goals. Trust our expert installers for guaranteed results, or use this knowledge to confidently complete your own beautiful transformation.
Different Floor Type
Different Installation Guide
Every type of flooring has its own unique characteristics and demands a specific approach to installation. To help you achieve a flawless and long-lasting tinish, we've developed comprehensive guides tailored to the distinct requirements of each material, ensuring you have the precise instructions you need for your project.
Prefer to work with our
professional installation team?
Our experienced installers bring years of expertise to every project. We handle everything trom planning to cleanup so you can enjoy your beautitul new floors without the stress. When you choose Honpo's installation services,
Floor installation might seem complex, but it comes down tc understanding the basics. When you know what good work looks like, you can make smarter choices and feel confident about your flooring project.
This guide shares everything you need to know about how floors get installed properly. Whether you're getting ready to start a project or simply curious about the process, well show you the key steps that make floors look great and last for years.
Preparing Your Subfloor
The foundation must be perfect before any new flooring goes down. This means checking that your subfloor is clean, level, and dry. Any squeaks, dips, or moisture problems get fixed first. It's like preparing a canvas before painting, the better the prep work, the better your final result.
Getting Your Materials Ready
Different flooring materials need different preparation. Some need time to adjust to your home's temperature and humidity. Others can be installed right away. The key is to follow what the manufacturer recommends. Skipping this step often leads to problems later.
Having the Right Tools
Quality installation needs quality tools. Our professional installers use specialized equipment for measuring, cutting, and fitting. The right tools make clean cuts and precise fits possible.
Setting Up Your Space
Everything needs to be cleared and cleaned before installation begins. This includes protecting areas not being worked on and ensuring good ventilation and lighting.
Planning The Layout
Smart installers always plan before they start. They figure out where to begin, how to handle tricky areas, and where to make cuts. Good planning means your most visible areas get the best-looking pieces.
Starting Strong
The first row of flooring sets the tone for everything else. Getting this row perfectly straight and properly positioned is crucial. Everything else builds from this foundation.
Cutting and Fitting
Professional installations show perfect fits around obstacles and clean, straight cuts. This takes skill the right tools, and patience. Each piece should fit snugly without forcing.
Securing Everything
Whether your floor uses glue, nails, or click-together systems, proper attachment is essential. The right method depends on your specific flooring type and subfloor conditions.
Handling Transitions
You need clean transitions where your new floor meets other surfaces. This includes doorways, stairs, and different room areas. Professional trim work makes everything look intentional and polished.
Clean up and Care
After installation, thorough cleanup removes all dust and debris. You'll also get specific care instructions for your new floor to keep it looking great.
Solving Any Issues
Even with great planning, small adjustments sometimes need to happen. Experienced installers know how to handle common challenges without compromising the final result.
Now that you have seen what quality flooring installation involves, you can decide which route aligns with your goals. Trust our expert installers for guaranteed results, or use this knowledge to confidently complete your own beautiful transformation.
Different Floor Type
Different Installation Guide
Every type of flooring has its own unique characteristics and demands a specific approach to installation. To help you achieve a flawless and long-lasting tinish, we've developed comprehensive guides tailored to the distinct requirements of each material, ensuring you have the precise instructions you need for your project.
Prefer to work with our
professional installation team?
Our experienced installers bring years of expertise to every project. We handle everything trom planning to cleanup so you can enjoy your beautitul new floors without the stress. When you choose Honpo's installation services,