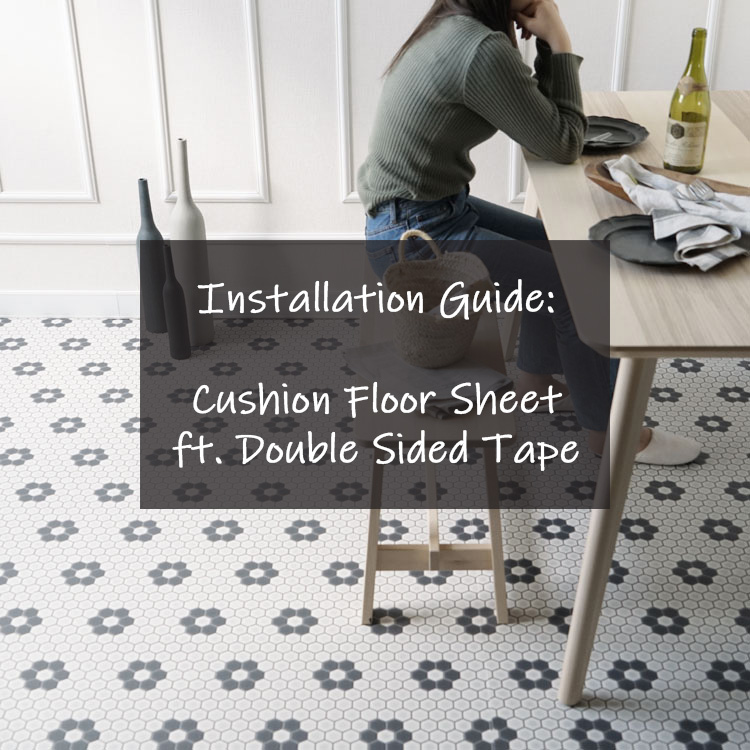
Why do you need to know how to install your own vinyl flooring? First of all, its popularity skyrocketed nowadays. Vinyl floor sheet become an attractive options for their low price and versatility, along with its many variations. The “cushion floor sheet” is no exception with its price being touted as the most affordable among the many variants of vinyl floor sheets and it’s incredibly simple to install. It will help to learn how to do it yourself.
We are going to give you some tips, so, stay tune!
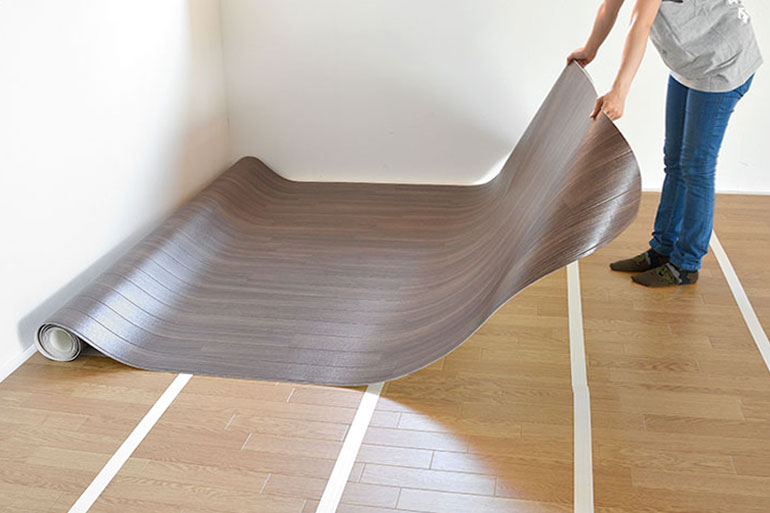
Now, let us start with an example. Most of the width of cushion flooring sold at Honpo is 91cm, compared to the traditional width of 180cm, making it even easier to work around as you don’t have to stretch out your body to lay the sheet down.
Preparation
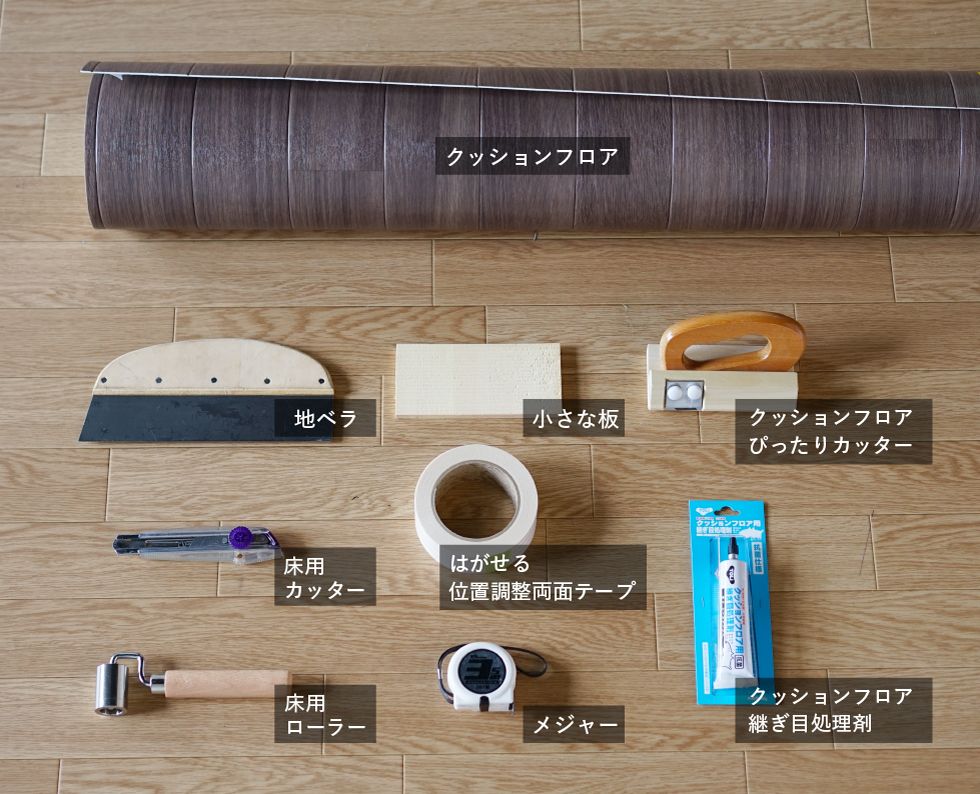
The first step on how to install vinyl flooring, is preparing the needed tools! Here are the list:
- Cushion floor sheet
- Double sided tape
- Cutter
- Ground spatula
- Caulking agent (extra precaution against water leakage through the gaps)
Let’s Install Vinyl Flooring: Step-by-Step
Clean the Floor
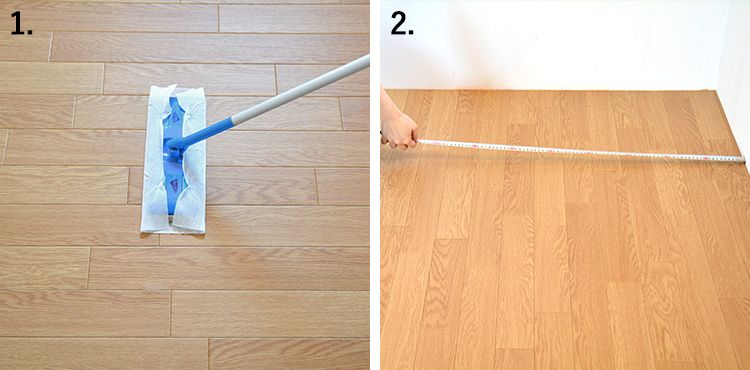
- Clean the floor thoroughly, you don’t want to stick your tape onto dirt or oily substance which may cause the tape to slip in the future.
- Measure with a tape to confirm how much floor sheet you need to use for each strip, and also the direction you want to lay it in. (Patterns!)
Paste the Double Sided Tapes
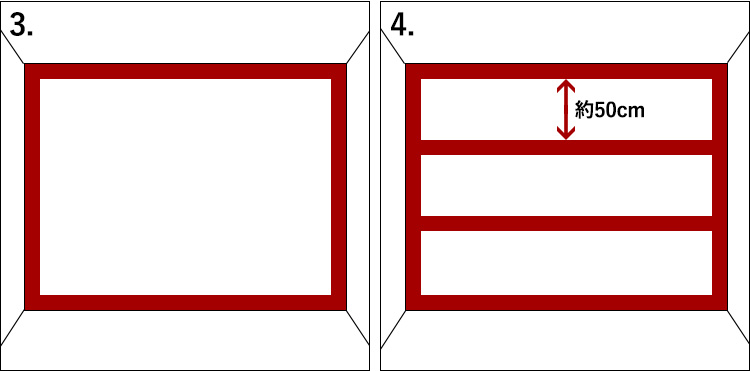
- Paste the double sided tapes down around the corners of the room.
- Next, stick it in a ladder shape at intervals of 50cm. If you have more tape to spare and want a more stable construction, you can stick them closer to each other.
Laying Down the Cushion Floor Sheet
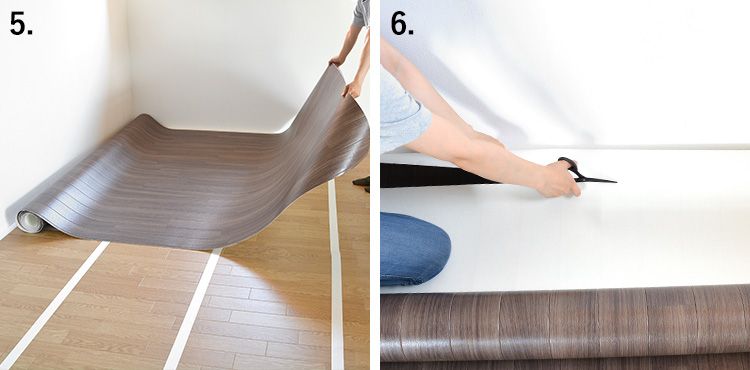
- Lay down the cushion flooring without peeling off the silicone tape.
- Cut about 5cm longer than the size of the room. (If you are pattern matching the 2nd strip onwards, cut more according to the pattern to be matched!)
Adjusting the Sheet
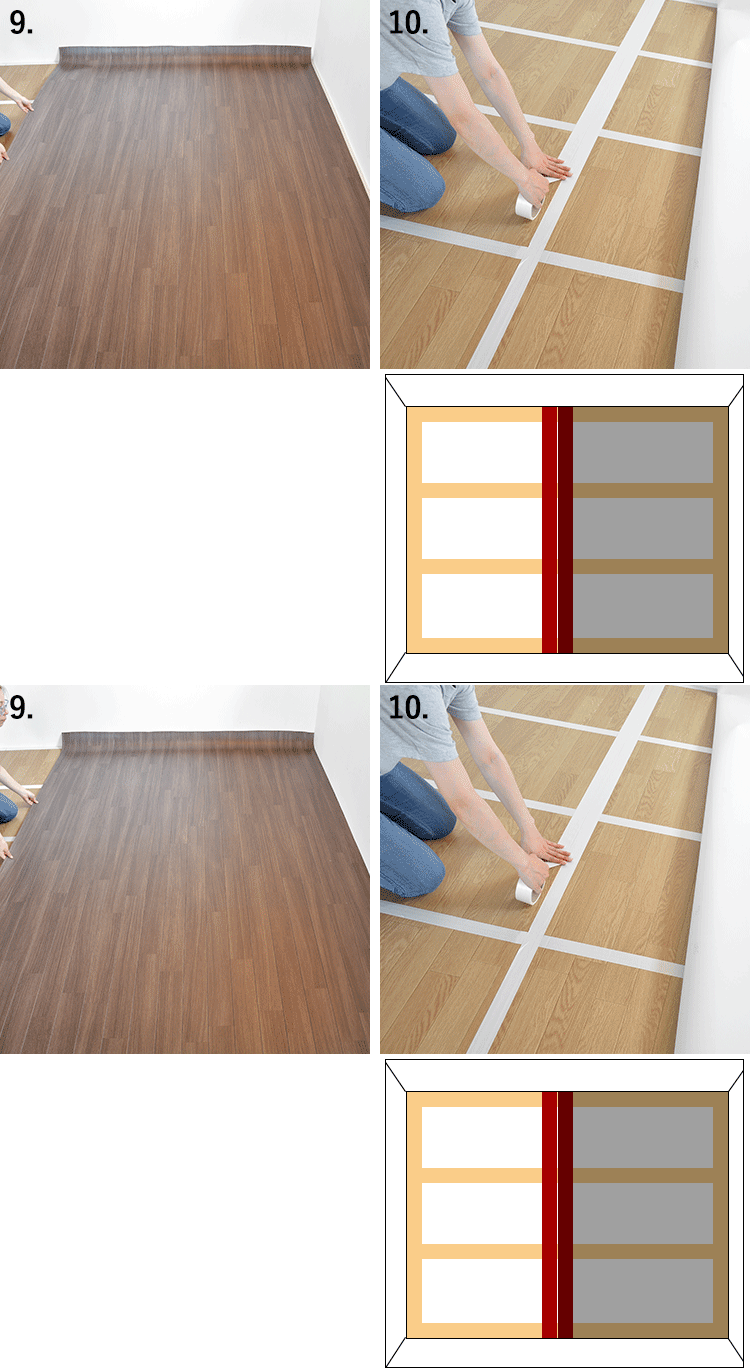
- Push the cushion flooring as close to the wall.
- Turn over the cushion flooring and attach double-sided tape to the location of where the seams are. It is very important to make sure the seams are well closed.
Cut the Extra
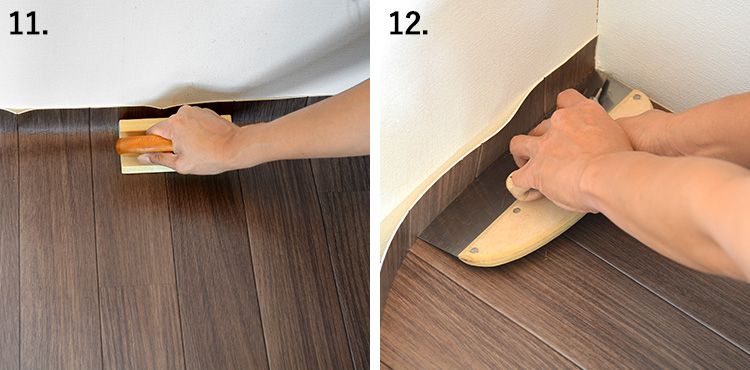
- Crease and fold the extra cushion flooring against the wall.
- Use the spatula to support the cutter while you are cutting the extra floor sheet.
Sticking the Floor Sheet
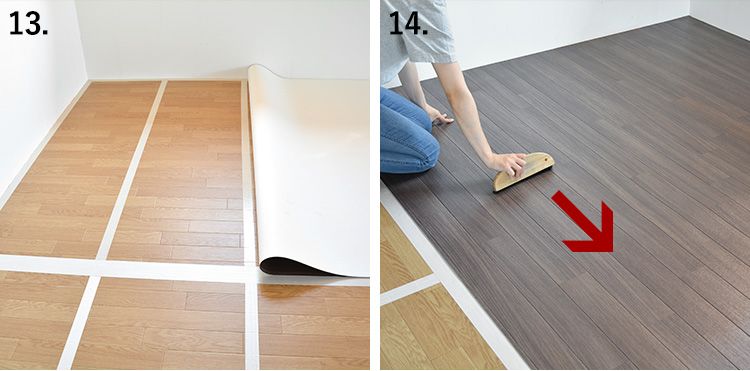
- Now it’s time to stick the cushion floor sheet! Turn up half of the floor sheet and peel off the silicone tapes slowly without moving the floor sheet too much.
- Brush out trapped air under the cushion floor sheet with a brush or squish.
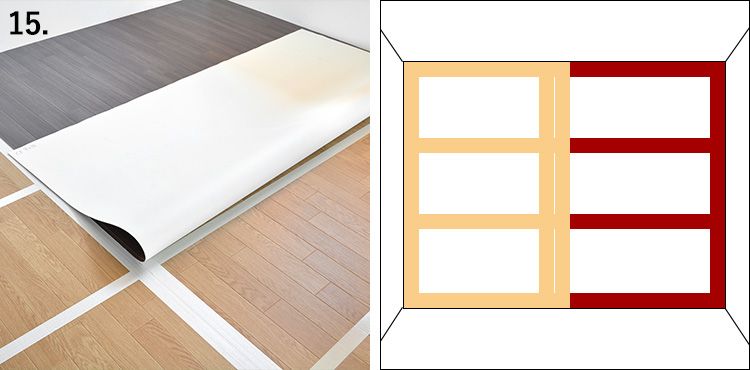
- Do the same for the other half.
Laying Down the 2nd Strip
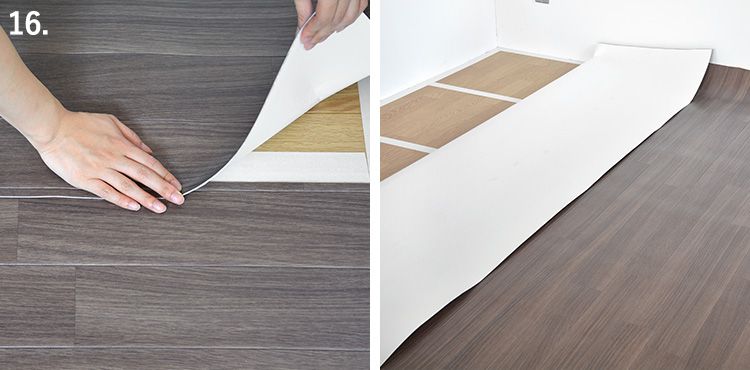
- Lay down the overlapping part of the 2nd piece.
*Honpo’s products is only 90cm in width, so you just need to put it side by side.
Cutting Around the Corner
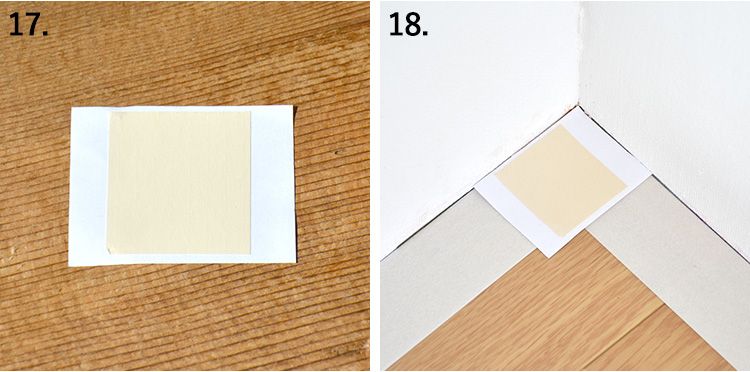
- Prepare a piece of card with double sided tape at the back.
- Place it at the corner.
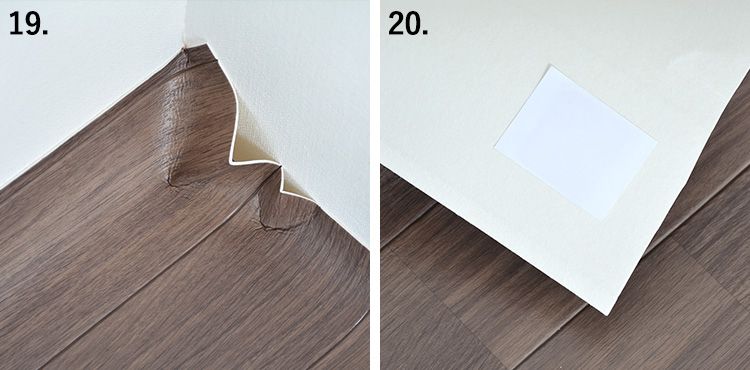
- Lay down the cushion sheet against the corner and paste it against the card.
- Check the position of the card on the cushion sheet.
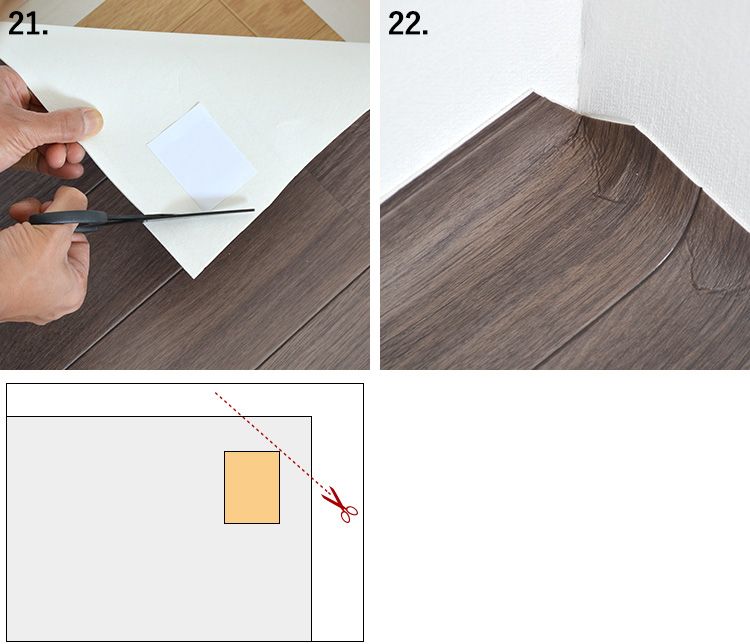
- Cut the cushion sheet cad into triangles at the corner of the paper.
- When the cushion sheet is turned back, the excess will rise to the wall.
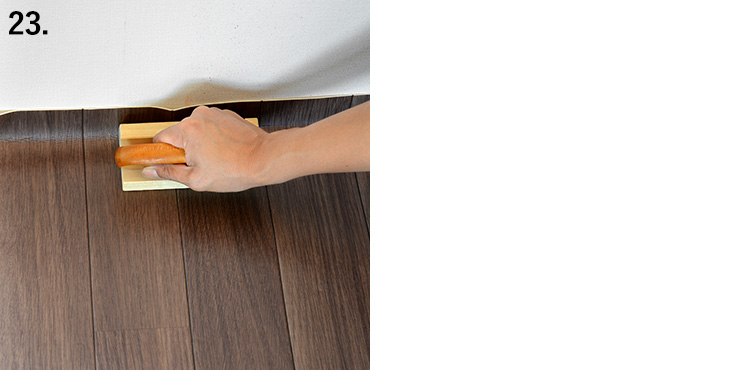
- Cut the excess like how you did with the first sheet.
How to Install Vinyl Flooring: Additional Corner Techniques
Cut in a Corner
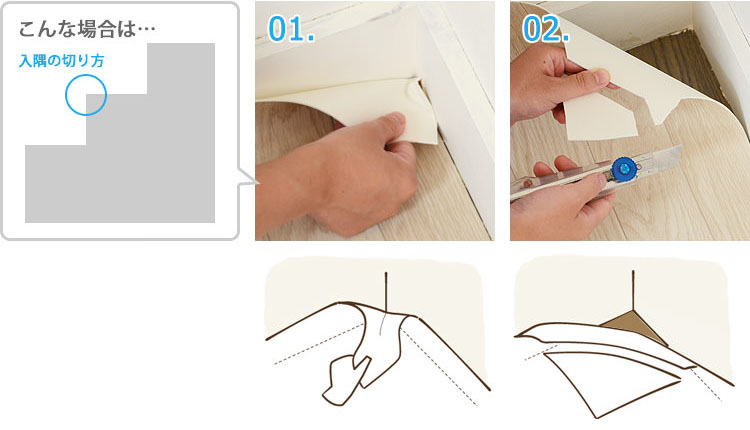
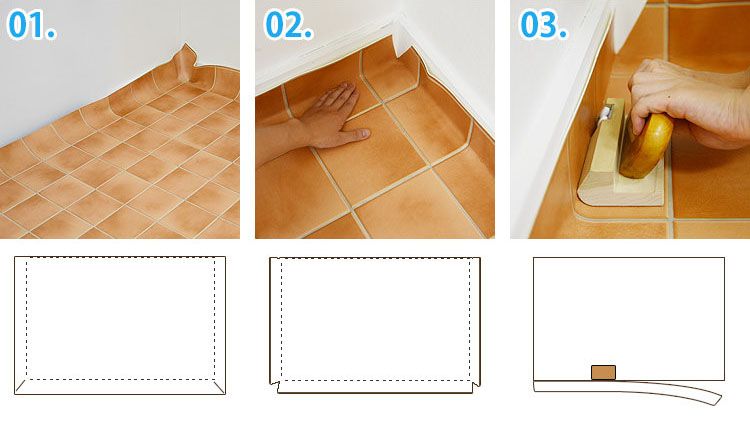
- Fold like how you see it in the photo.
- Cut diagonally across touching the tip of the fold.
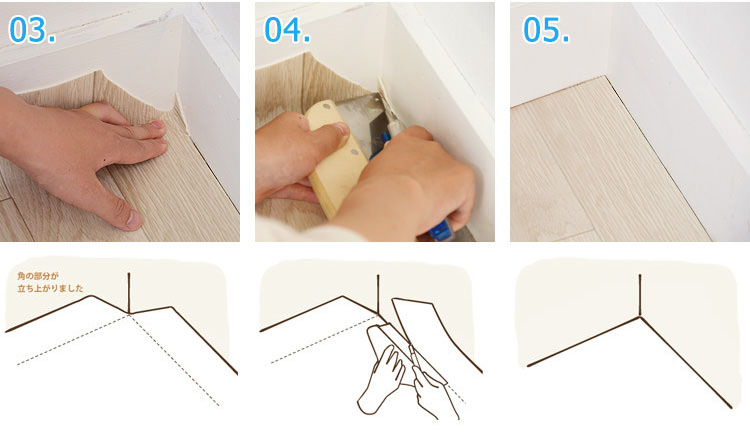
- Press the sheet in, it will rise closely against the wall this time.
- Cut the excess with your spatula and cutter.
- Done!
How to Cut around a Corner
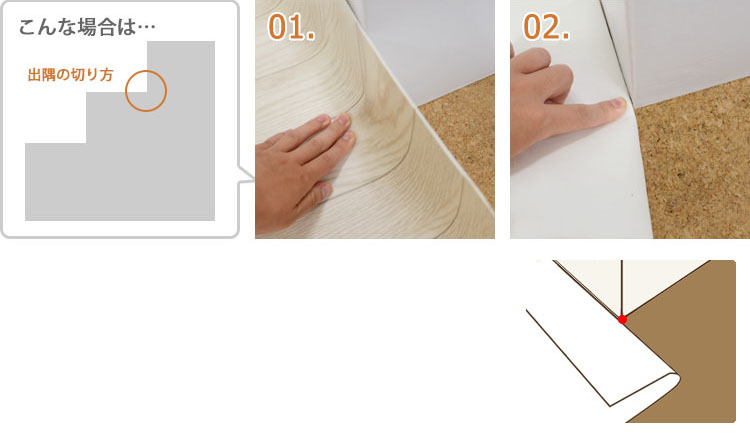
- Lay the cushion sheet along the wall on one side of the corner.
- Fold it at the corner.
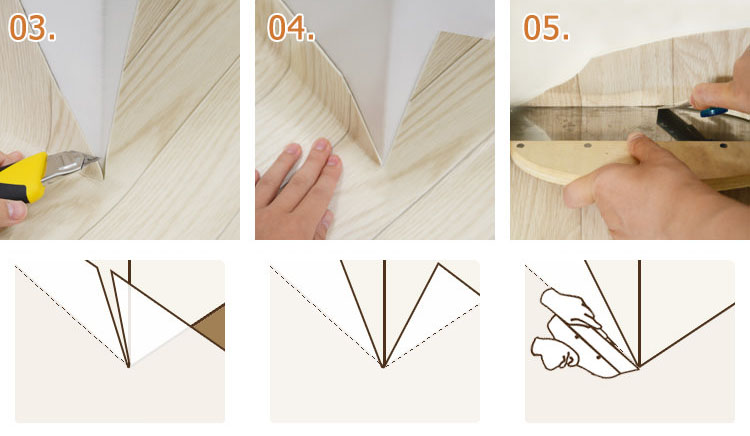
- Cut inward from the corner with the folds.
- The extrawill now rise closely against the wall.
- Now the excess can be cut with a spatula and cutter.
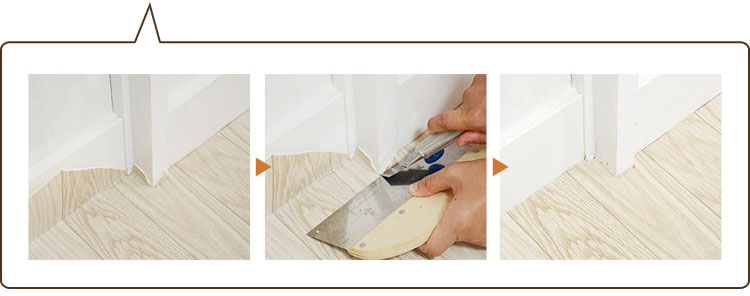
Once you get a grasp of the concept, even a small obstacle like this is easy to cut around!
Sticking the Second Floor Sheet
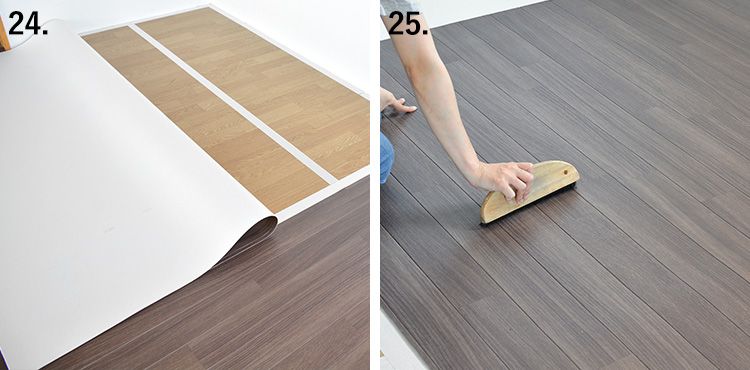
- Turn up half of the floor sheet and peel off the silicone tapes slowly without moving the floor sheet too much.
- Brush out trapped air under the cushion floor sheet with a brush or squish. The other half is done the same way.
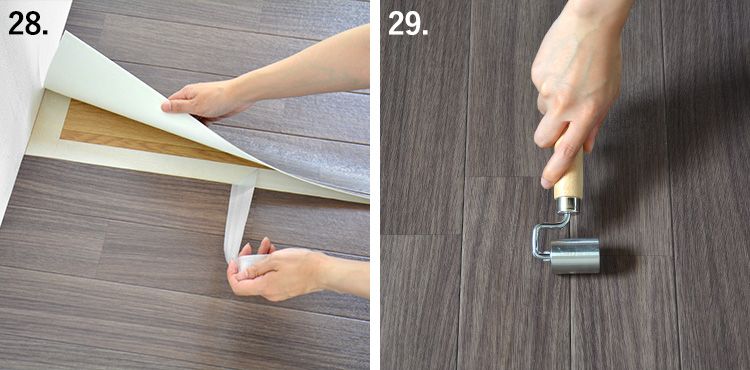
- After removing the excess, remove the silicone paper from the double-sided tape attached to the seam.
- Use a roller or something similar to smoothen the seams if you like to.
Preventing Leaks between the Seams
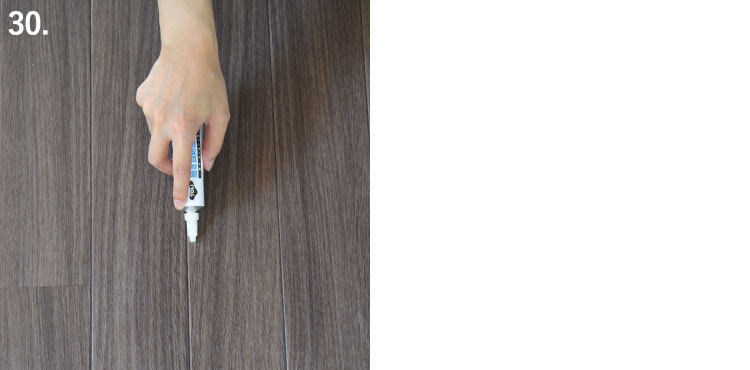
- Use a caulking agent along the grouts. Make sure you get a transparent one if you have patterned floor sheets.
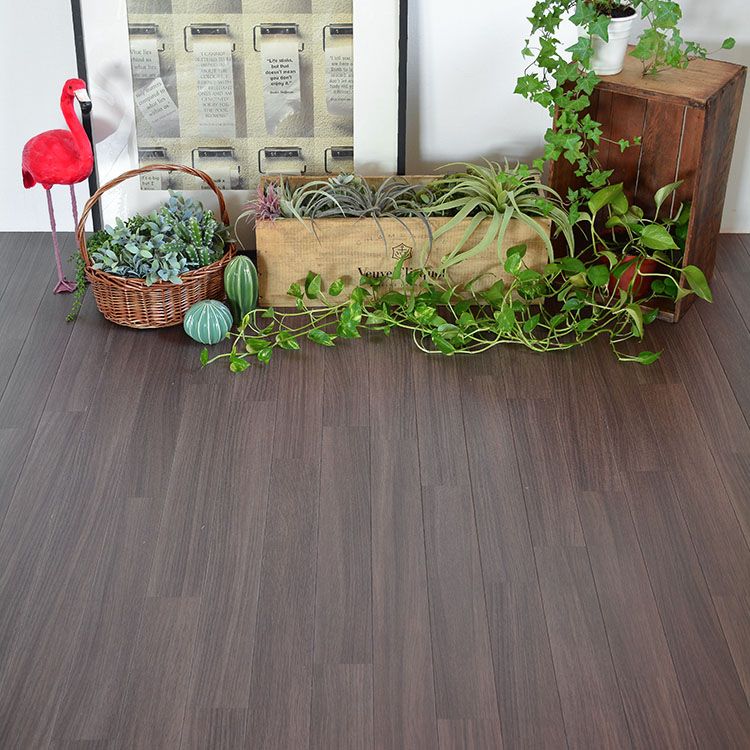
Installations Vinyl Flooring around a Smaller Area like the Entrance
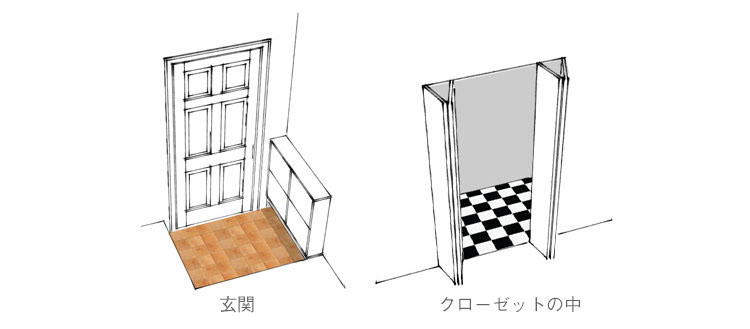
If the area is a perfect square
- Put double-sided tape on one side and spread the cushion floor slightly larger than the floor.
- Cut the corners.
- All you have to do is cut the rest with a cutter! Done!
If the area is not a perfect square, with slight obstacles (like around a toilet bowl)
Please use this method for areas with a lot of obstacles, and hard to maneuver around.

- If dirt remains on the adhesive surface, the tape becomes difficult to adhere, so wipe it thoroughly and clean it.
- Paste the tape into a grid.
- Use a roller to crimp the tape and floor firmly.

- Lay a lot of paper (newspaper, cards etc) and tape them together on the areas you want to stick.
- Make sure all the paper is taped properly and gently remove the pattern.
- Place the pattern upside down on the back of the cushion floor.

- Draw a line along the pattern and copy the pattern on the back of the cushion floor.
- Cut with scissors along the drawn line.
- Lay the cut cushion floor on the floor.

- Turn the cushion floor in half and peel off the release paper from the double-sided tape and stick it.
- The other side is sticked in the same way.
- Roll along the edges to make sure it’s stuck firmly. Done!
Takeaways
How is it? Very easy to install vinyl flooring using double sided tape, right? You can also use our best wallpaper and flooring installers to help. Check out our selection of floor sheets today, along with Honpo’s exclusive double sided tape!

